Create an Environment
After creating your Blueprint, you can now launch the first manifestation of it, which is the Environment.
How to Create an Environment?
- Open Blueprints and select the required Blueprint.
- Select the Environments tab and you will be greeted with a prompt to create your first Environment.
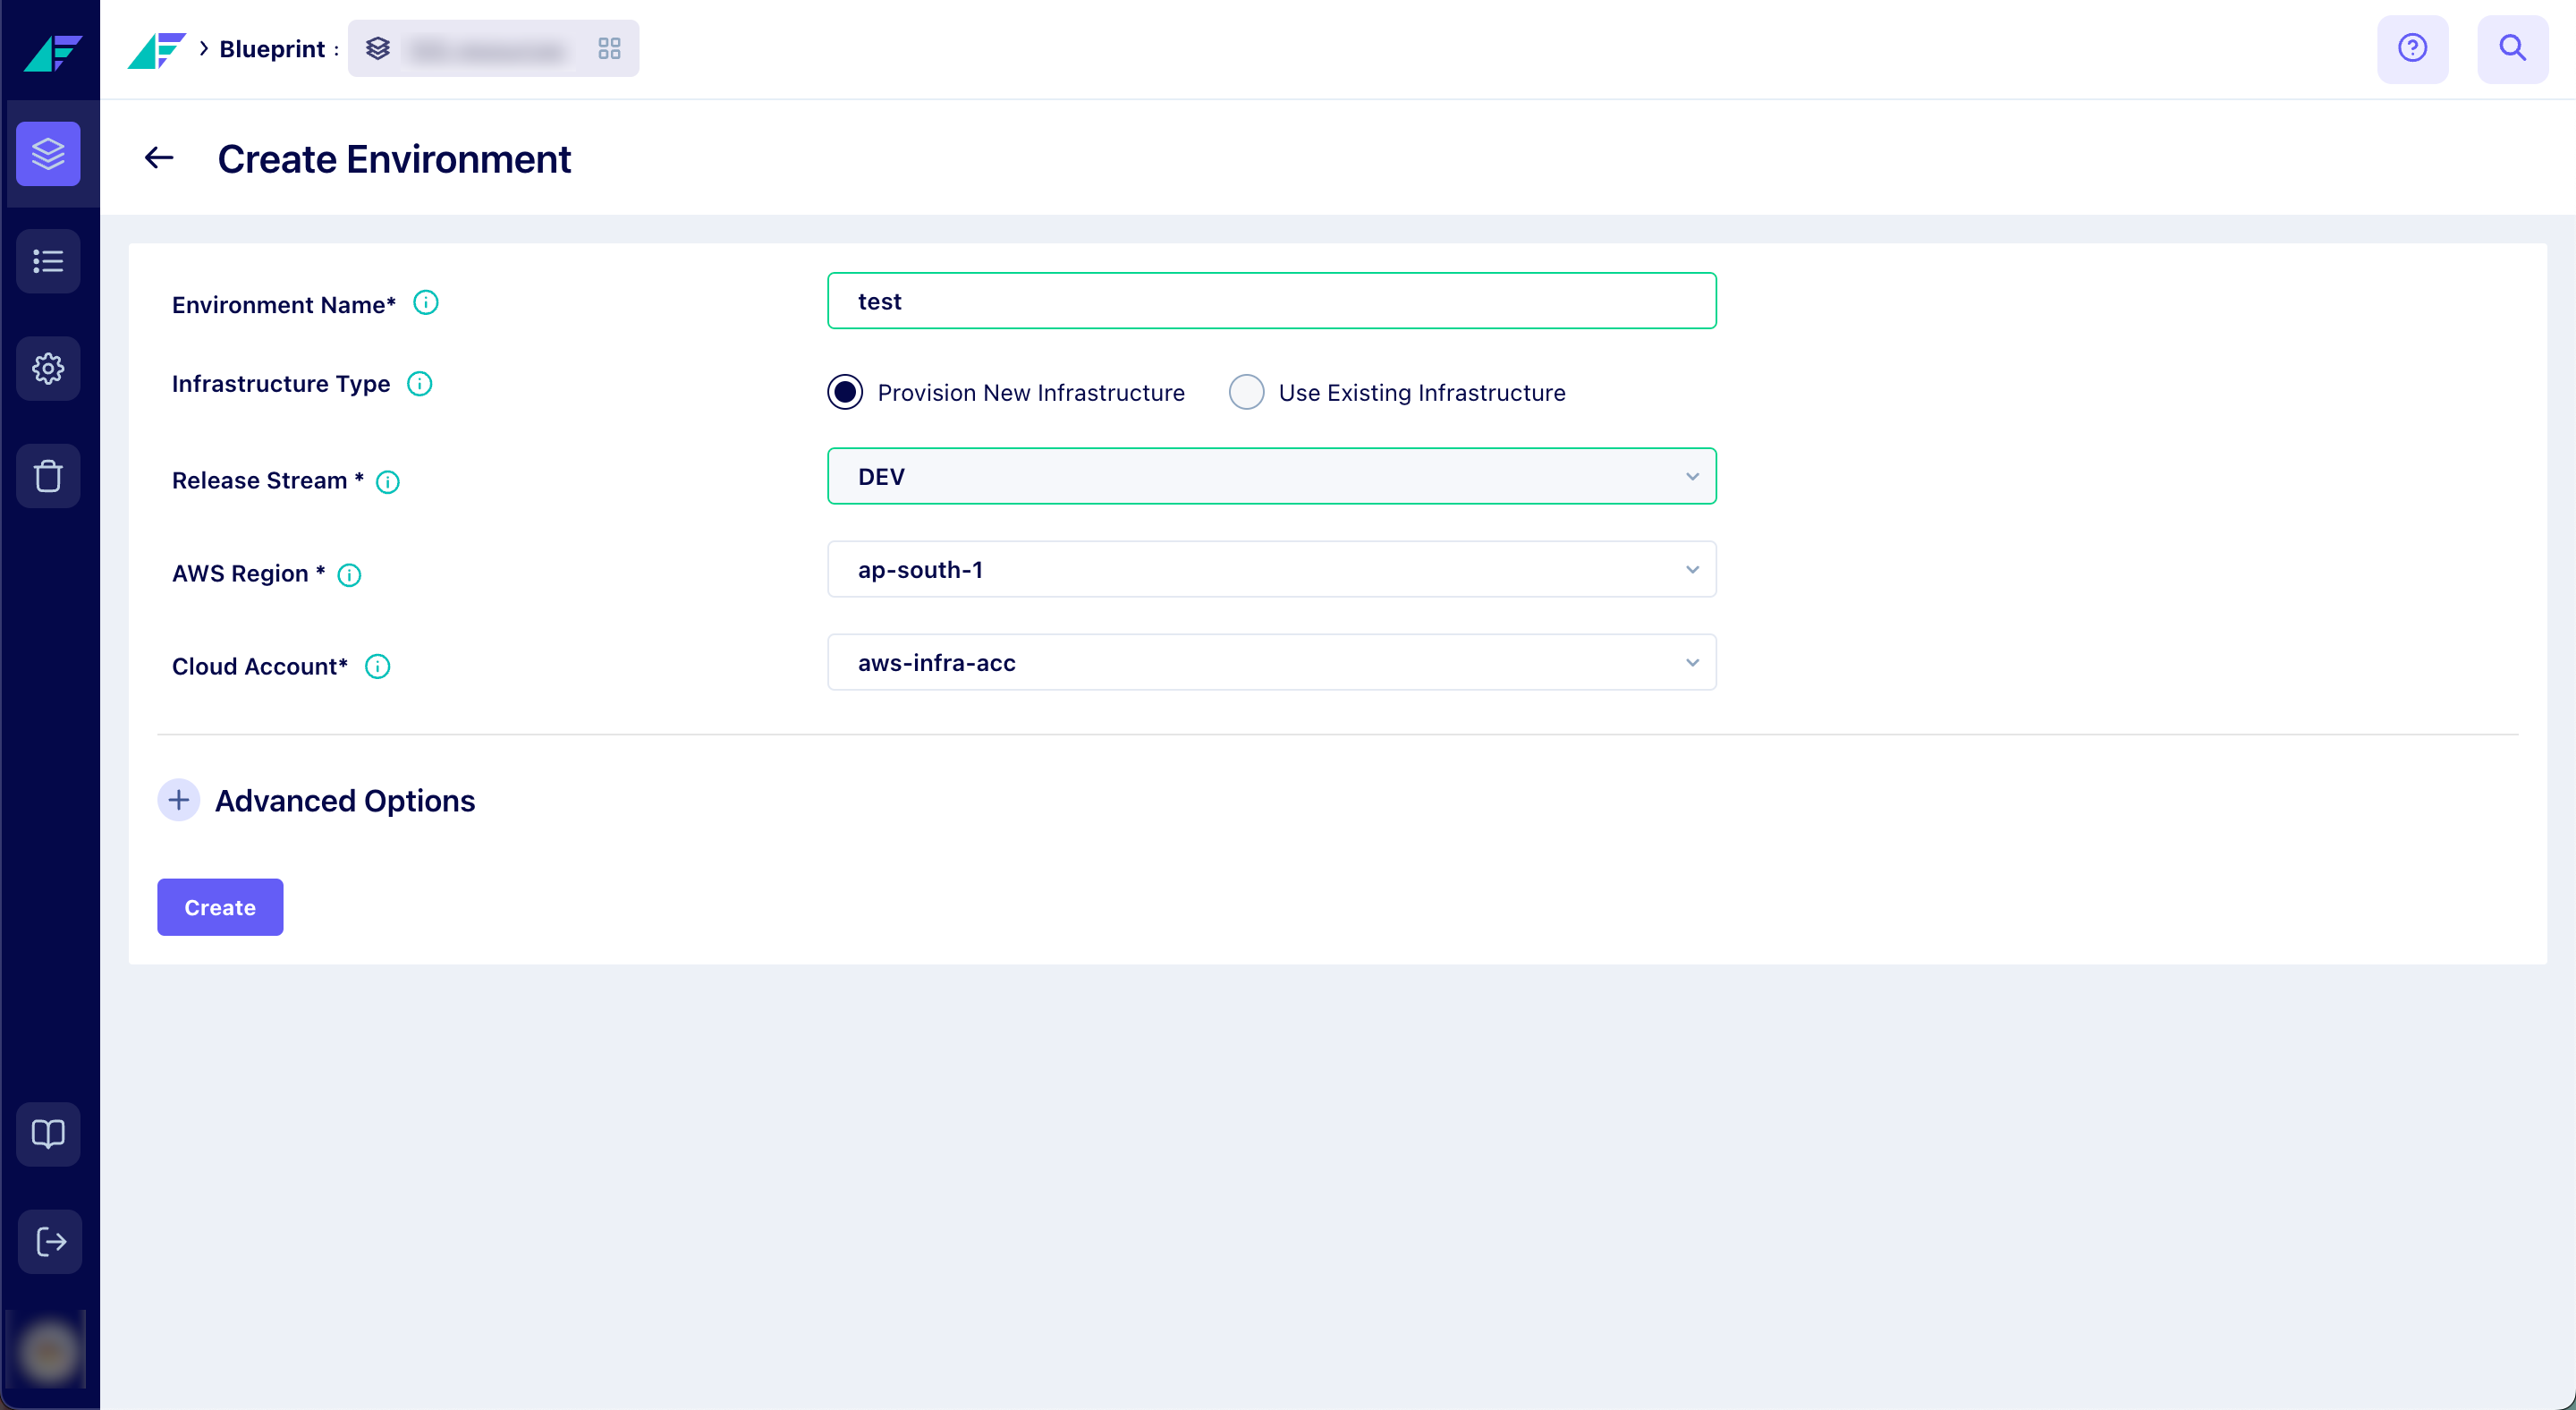
- Select the Cloud Provider: The next step is to select the cloud provider. This will trigger a form for further configuration.
- Basic Details: Assign a unique Name to your environment, then select your preferred Release Stream and its corresponding Region.
- Now, select the Infrastructure Type. You can choose between Provisioning a New Infrastructure or Use an Existing one.
If you choose to Use an Existing Infrastructure, you'll need to:- Pick a Base Environment - this is the environment whose resources will be inherited for the current setup.
- Define the Namespace - this specifies where this environment will be set up in the Kubernetes cluster.
- Cloud Permissions: Here, you need to link the cloud account with the Facets control plane or select a pre-configured cloud account. To know more about adding a cloud account, refer to the Integrating Cloud Accounts documentation.
- Click Create.
Click on the image to expand
A logical environment would be created by clicking the Create button. However, please note that the environment will not be launched immediately and will appear as 'stopped' on the environment page.
Advanced Options
The Advanced Options section is accessible for both Environment types. This section provides you the opportunity to tweak specific advanced settings that can influence your environment.
The advanced options include:
- Establish your Time Zone - this determines the operational region of your environment and its resources.
- Determine your Environment Type - Choose between a Regular and an Ephemeral Environment.
- If you choose an Ephemeral environment, you're opting for short-lived environments ideal for running tests.
Note: Availability rules can be set only for ephemeral environments. Refer to the Availability Rules for Environments documentation to know more about it.
- If you choose an Ephemeral environment, you're opting for short-lived environments ideal for running tests.
- Outline your CIDR Range - set an IPv4 address range for your VPC, between a /16 and /28 netmask.
- Select your Availability Zone - this defines the region where your resources will reside.
- List your Instance Type(s) - here, you should specify the instances you wish to use, separated by commas.
- Provide your VPC ID - this is the unique identifier for your VPC.
- Set your Request Limit Ratio - this determines the packing density of deployments per instance.
These Advanced Options serve as tools for precision-tuning your environment creation process to ensure it unfolds as anticipated. It's crucial to comprehend the implications of these settings before creating the environment, as they can cause unexpected behavior.
Updated 3 days ago