Integrate Version Control Systems (VCS) with Facets
This document provides a step-by-step guide for integrating version control system(VCS) accounts in your Control Plane. Github, Gitlab, and Bitbucket can currently be integrated with Facets.
How to Add a VCS Account in Facets?
Navigate to Settings > Accounts from your sidebar.
All the accounts integrated with Facets will be displayed here.
Github account
- Select Github from the Add Account widget on the screen.
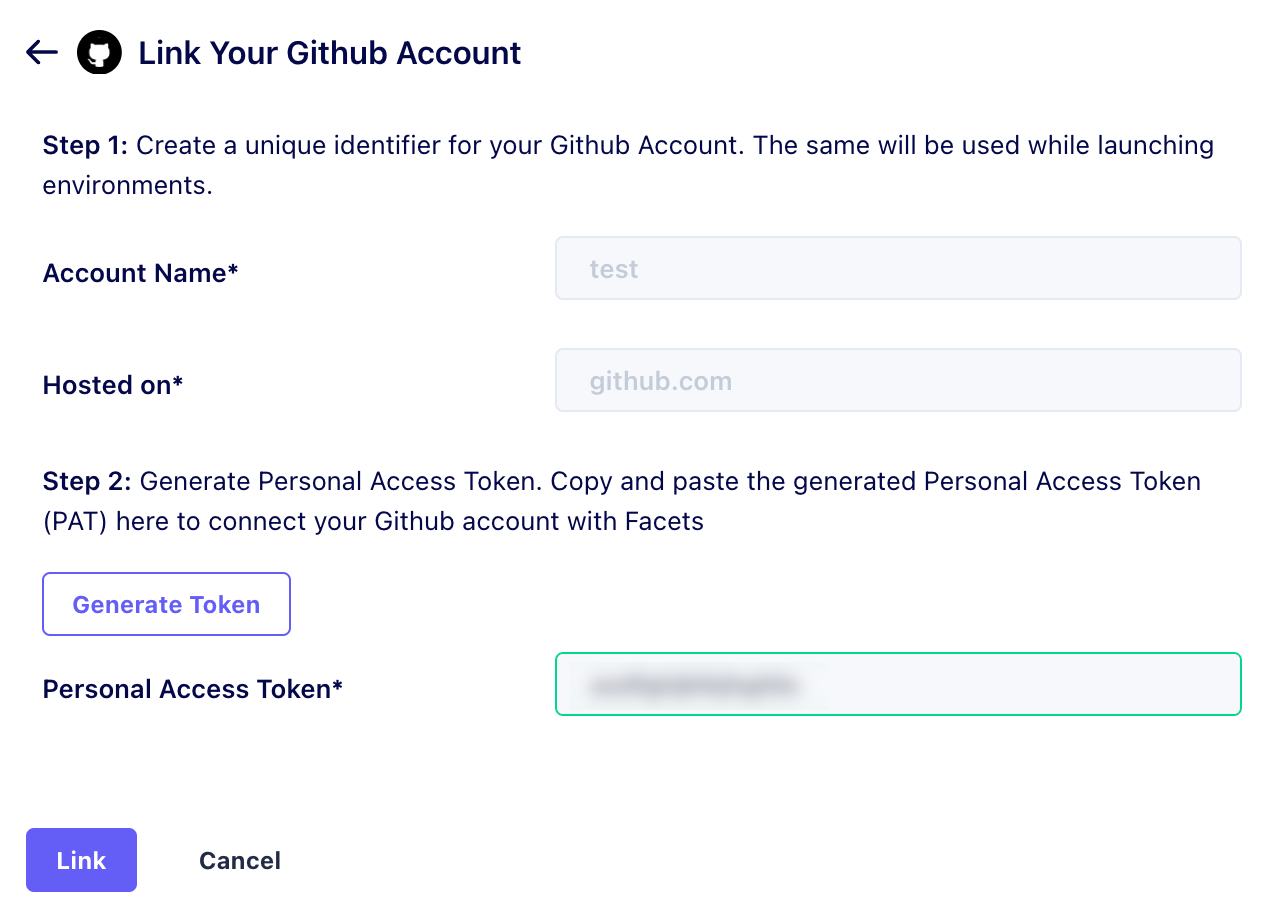
- Fill in the Name you want to associate with this account in the Control Plane.
- Enter the link where this is Hosted on and click Next.
- Now, click Generate Token.
- This will redirect you to the GitHub Personal Access Tokens page where the Scopes are pre-selected.
Note: When creating your Personal Access Token, Facets recommends setting the expiry to the maximum time frame for ease of use. - Click Generate Token and copy the generated token.
- This will redirect you to the GitHub Personal Access Tokens page where the Scopes are pre-selected.
- Paste the Personal Access Token in the Control Plane and click Link.

Click on the image to expand
You have successfully linked your GitHub account. Your account details will now be available under the Account Management page.
GitLab account
- Select GitLab from the Add Account widget on the screen.
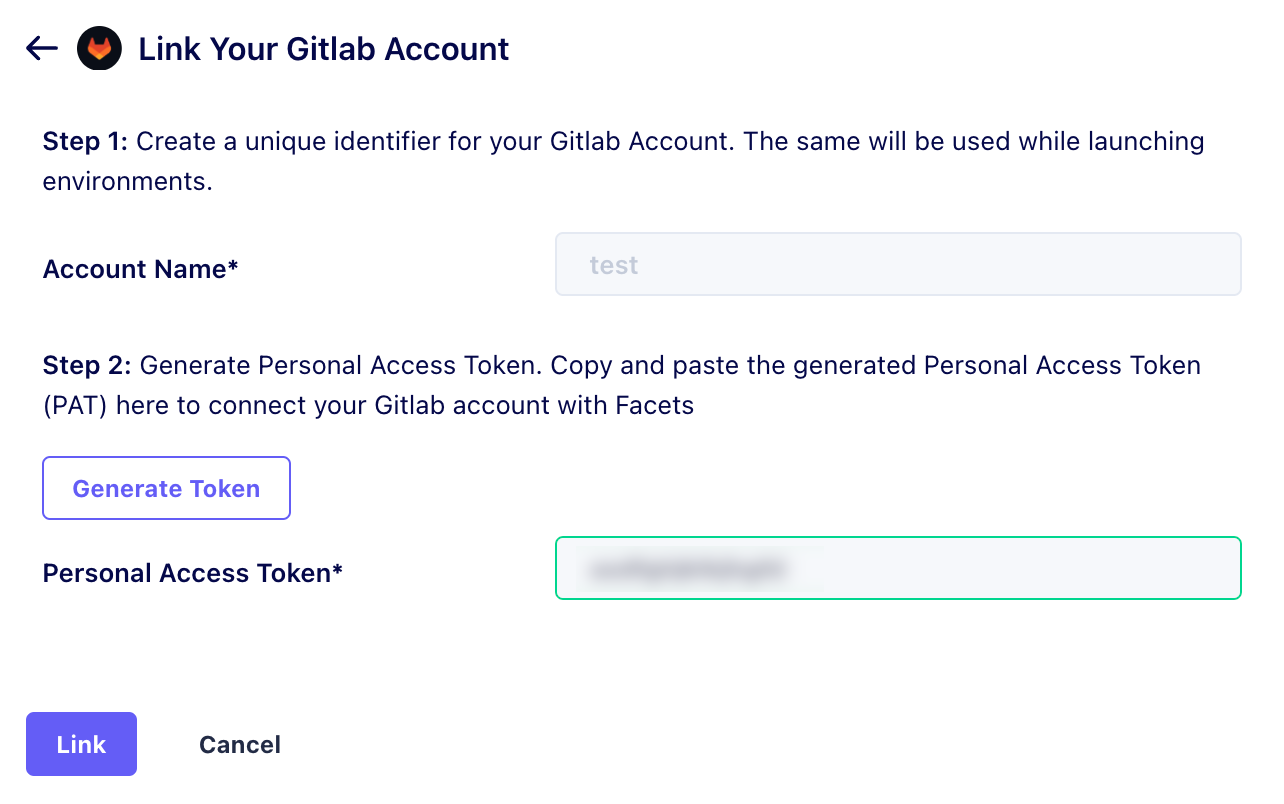
- Fill in the Name you want to associate with this account in the Control Plane and click Next.
- Now, click Generate Token.
- This will redirect you to Gitlab's Personal Access Tokens page.
- Click Add new token.
- Mention the Token name, and Expiration Date. The Scopes are pre-selected.
Note: When creating your Personal Access Token, Facets recommends setting the expiry to the maximum time frame for ease of use. - Click Create personal access token and copy the generated token.
- Paste the Personal Access Token in the Control Plane and click Link.

Click on the image to expand
You have successfully linked your Gitlab account. Your account details will now be available under the Account Management page.
Bitbucket account
-
Select Bitbucket from the Add Account widget on the screen.
-
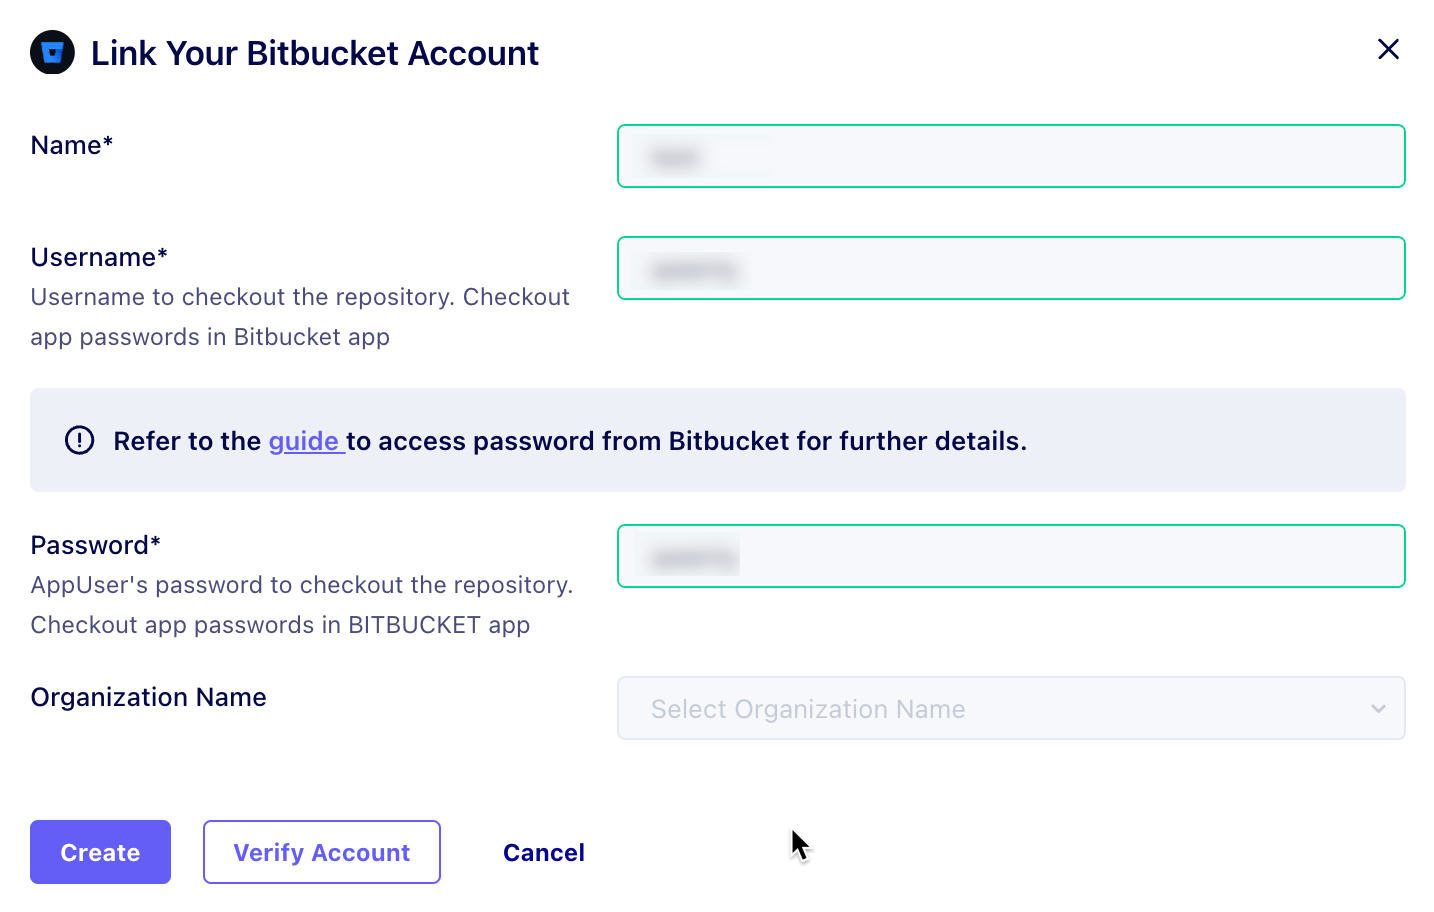
Fill in the Name you want to associate with this account in the Control Plane.
-
Enter your Bitbucket Username and the App Password.
For detailed instructions on creating an app password, refer to this guide.Note: When creating the app password, ensure you grant the following permissions:
- Account: Read
- Workspace Membership: Read
- Projects: Write, Admin
- Repositories: Admin
-
Select the Organization Name from the drop-down.
Note: Ensure you have the necessary access to create repositories in the selected workspace (Organization). -
Click Verify Account to ensure that the account details are correct.
-
Click Create.

Click on the image to expand
You have successfully linked your Bitbucket account. Your account details will now be available under the Account Management page.
Updated 16 days ago