Project Settings
Settings specific to a Project
1. Accessing Project Settings
To access the project settings:
- Open a Project
- Navigate to Project Settings in the sidebar, which contains the following sections: General, GitOps, CI/CD, Delivery Pipeline and Danger Zone.
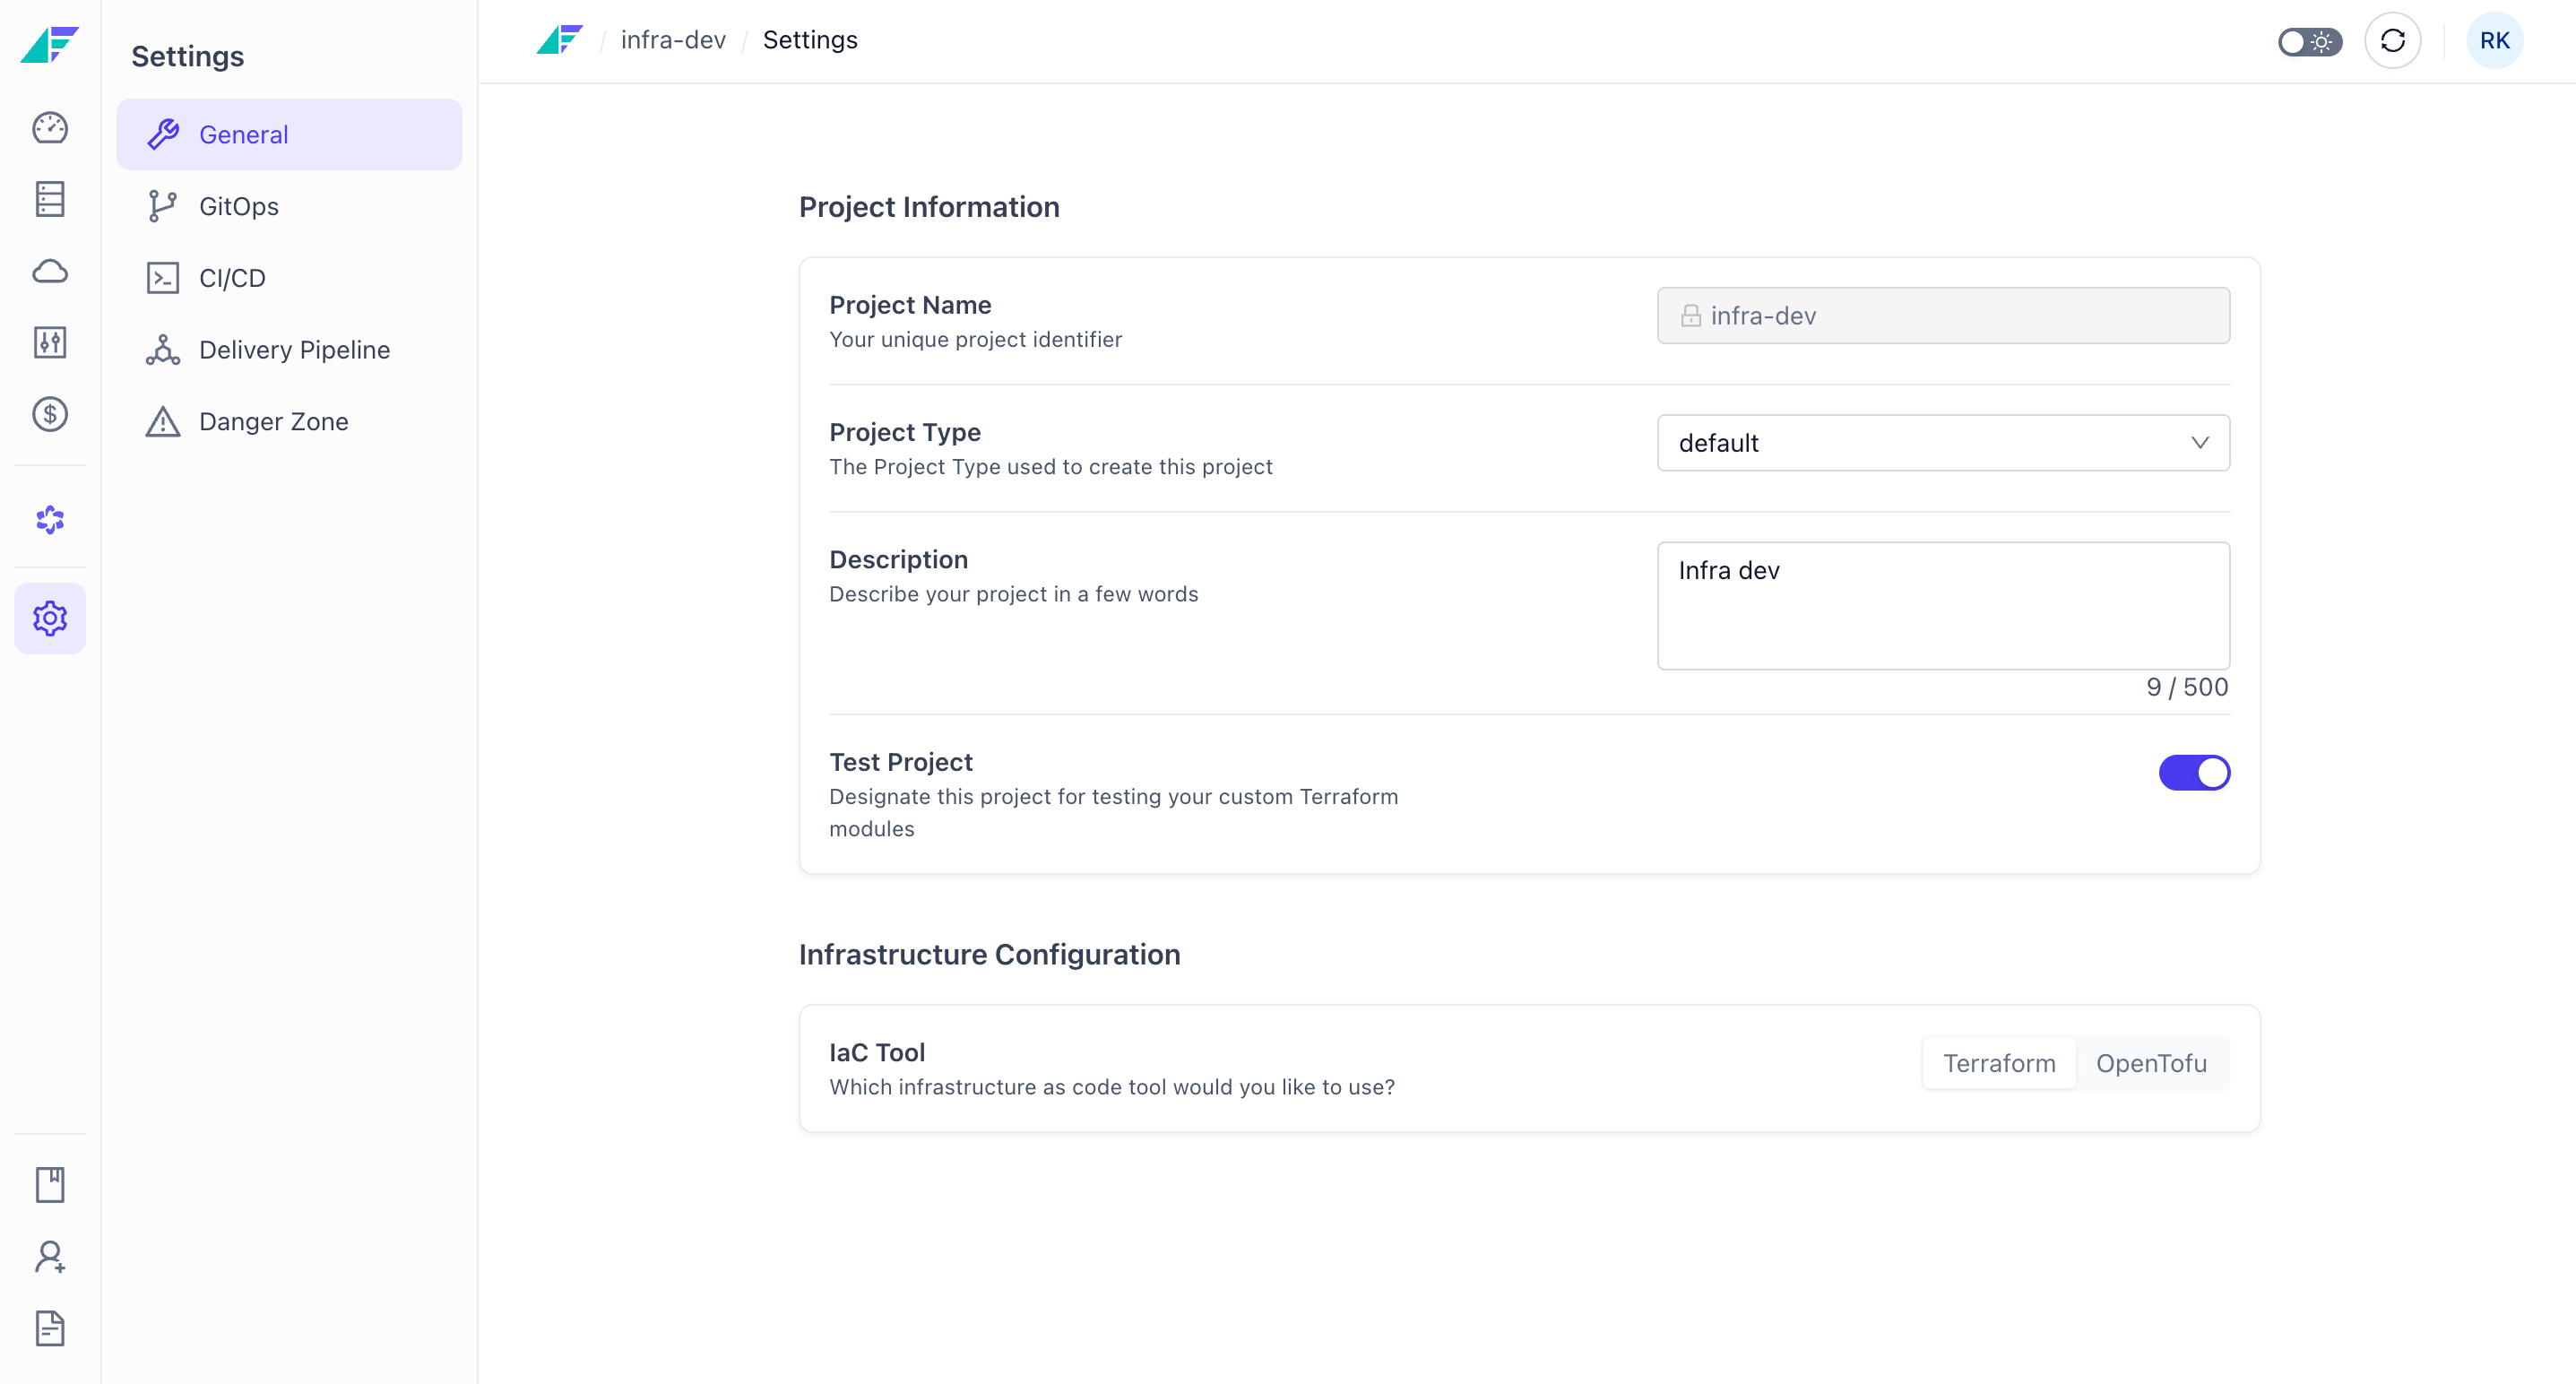
2. General Settings
General Settings allow you to edit basic project properties including the display name, description, Infrastructure as Code (IaC) tool, and module preview settings.
-
Project Name: View the uneditable project name.
-
Description: Optional text describing the project purpose. Use this field to document the project scope, team ownership, or business context.
-
Project Type: Defines the IaC tool (Terraform or OpenTofu) and version used to provision resources. Changing the Project Type updates the iacTool and iacToolVersion fields, which affects how all resources in the blueprint are provisioned.
Changing the Project Type may require updates to module configurations to maintain compatibility with the selected IaC tool version.
-
Test Project: Enable this toggle to allow alpha and preview modules in the project. When enabled, the project is marked as a "test project."
- Enabled: Project can use experimental modules not yet available for production
- Disabled: Project is restricted to stable, production-ready modules
Tip: Production projects should keep this setting disabled to ensure stability and support.
Note: After making any changes, click Save Changes to apply them.
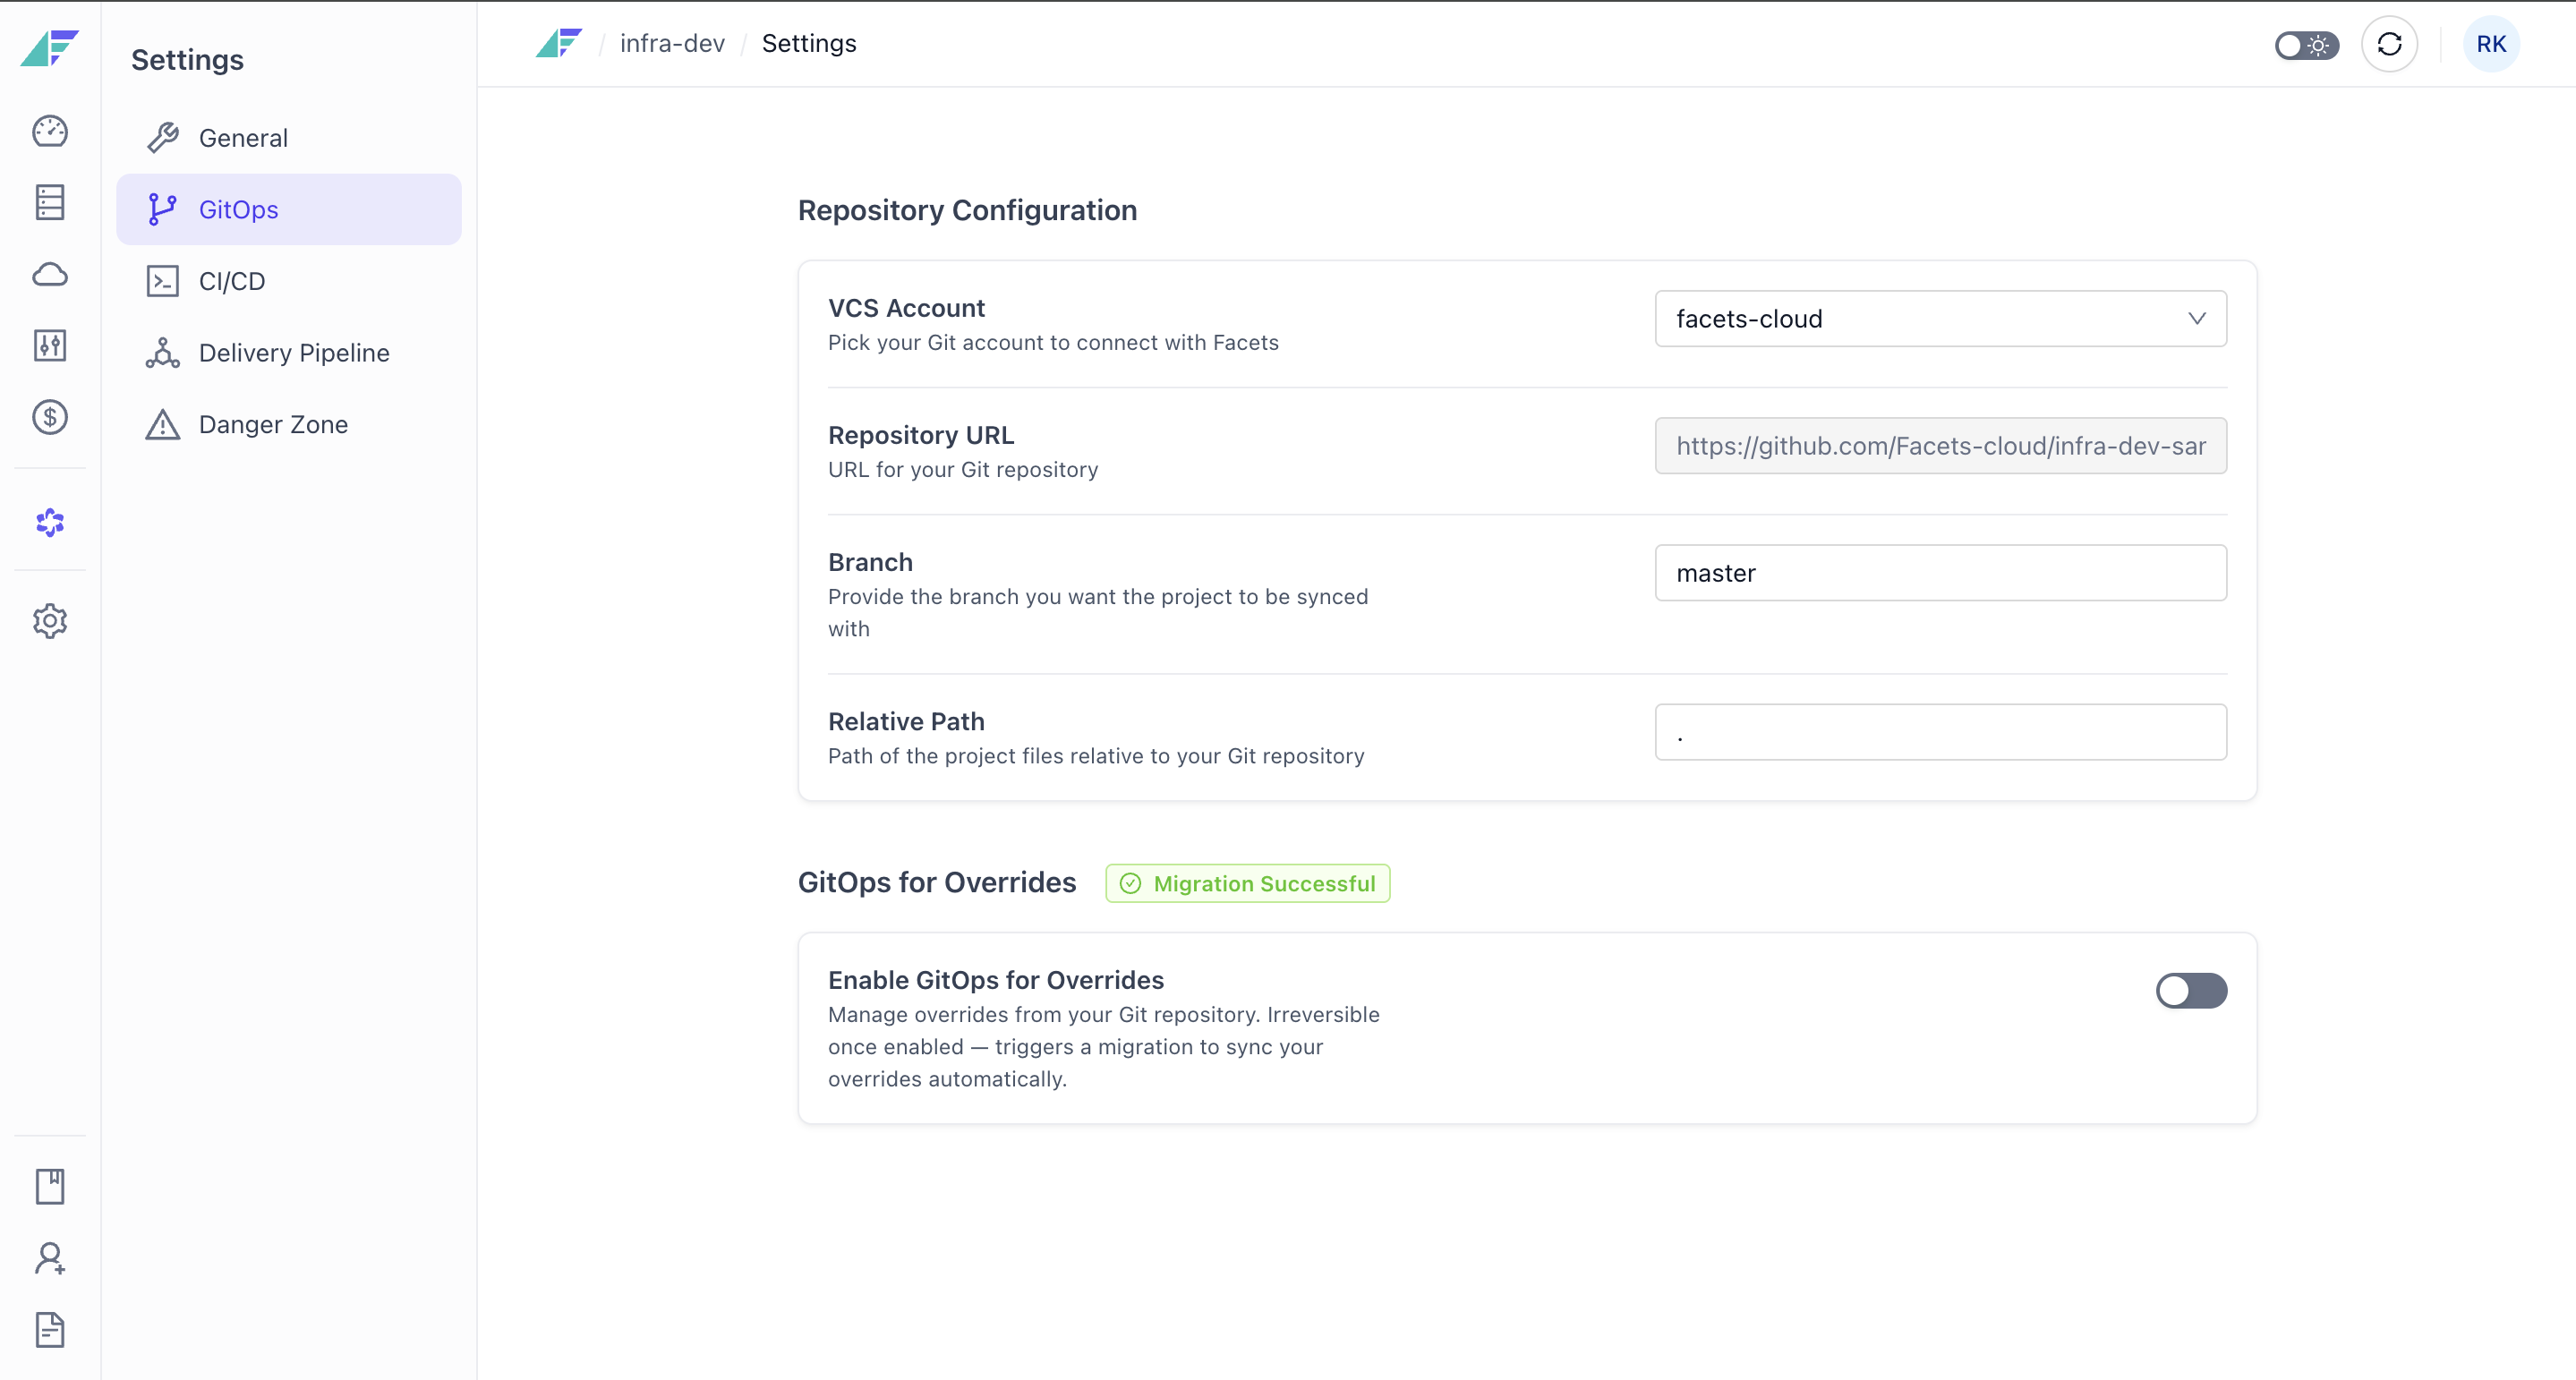
3. GitOps Settings
The GitOps section allows you to manage and modify the blueprint through your GitHub repository.
Key Options:
- Choose Account: Displays the GitOps account added during project creation.
- Repository URL: Displays the URL of the repository added during project setup.
- Branch: Shows the branch containing the blueprint.
- Relative Path: Displays the directory path containing the blueprint, relative to the repository URL.
GitOps for Overrides:
- Purpose: Manage environment-specific configuration overrides directly from the Git repository.
- Enabling GitOps for Overrides: Once enabled, overrides are migrated to the Git repository, and you can no longer make changes through the UI.
- Restrict UI Changes: When enabled, Git takes precedence, and any concurrent changes must be made from the repository.
- Important: This setting is irreversible once activated. Ensure all overrides are properly migrated before enabling it.
Reminder: After making any changes, click Save Changes.
4. CI/CD Settings
The CI/CD Settings tab in Project Settings provides access to your project's CI/CD pipeline configuration. This is the entry point for managing CI/CD setup within a project context.
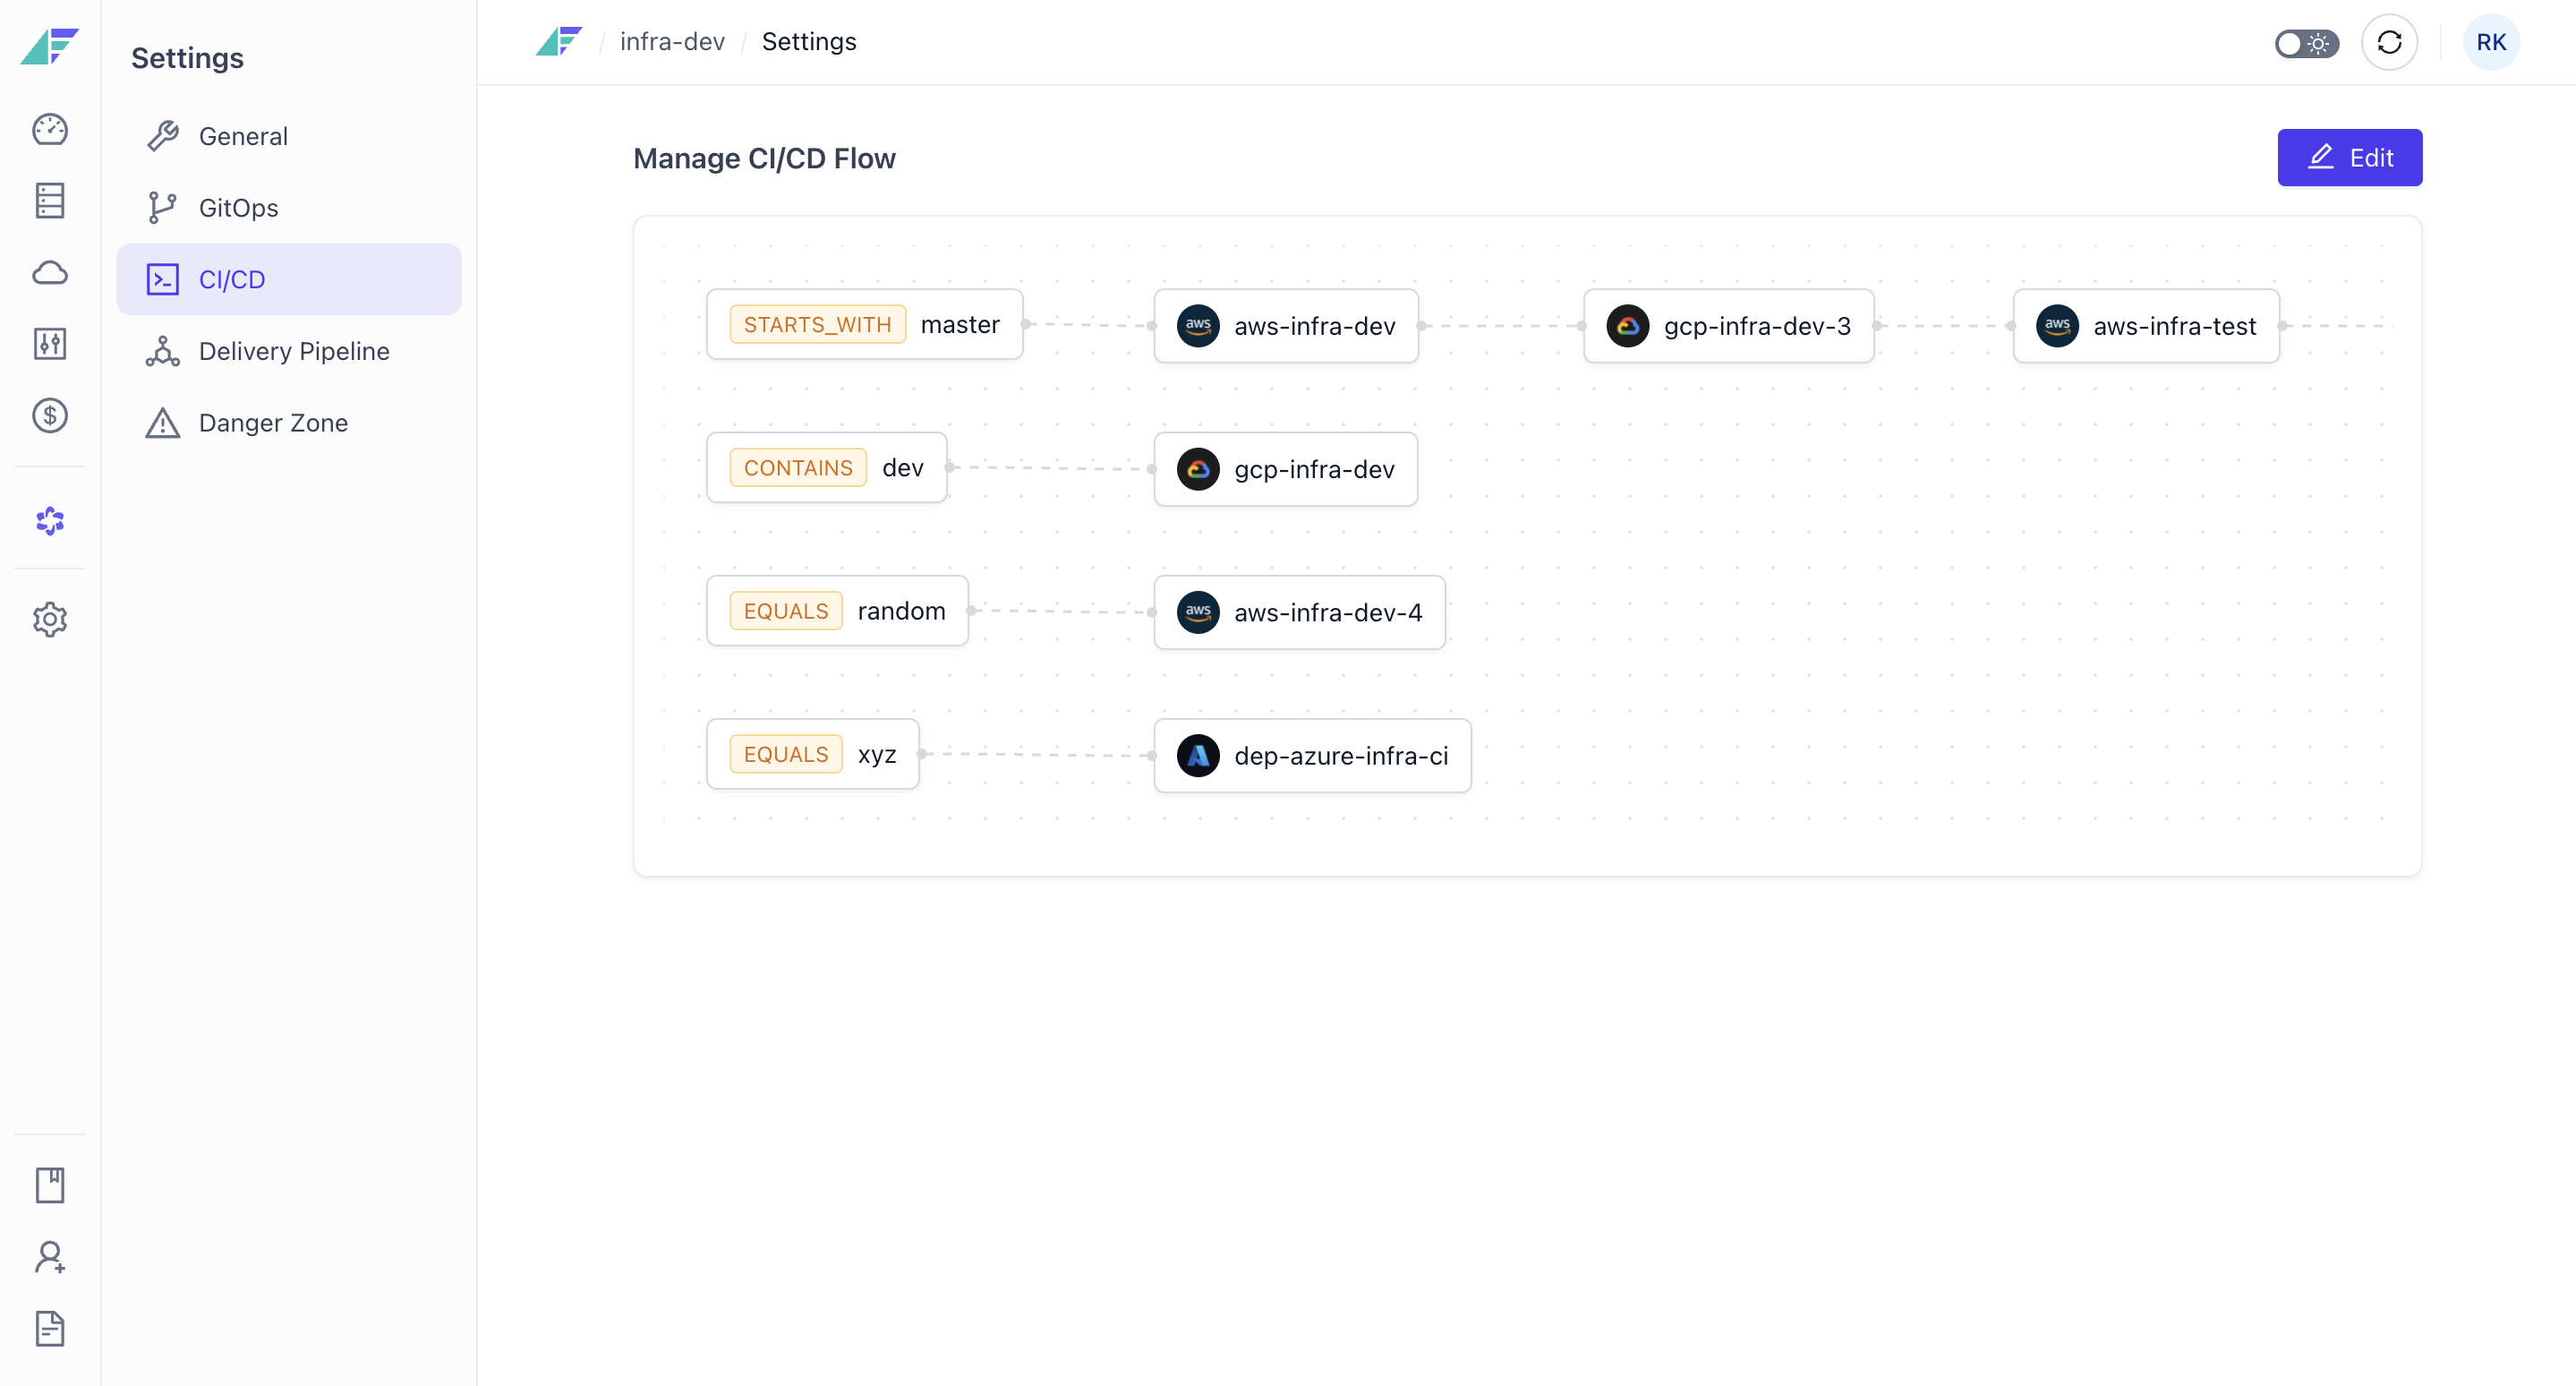
Deployment Options:
- Branch Per Environment: Map each Git branch to its corresponding environment for efficient testing.
- Single Branch Promotion: Link one branch to an environment and automatically promote changes to other environments.
- Advanced: Create custom Git rules for mapping branches and setting up flexible promotion workflows.
CI/CD Documentation for complete setup, CI Rules, and Promotion Workflow details
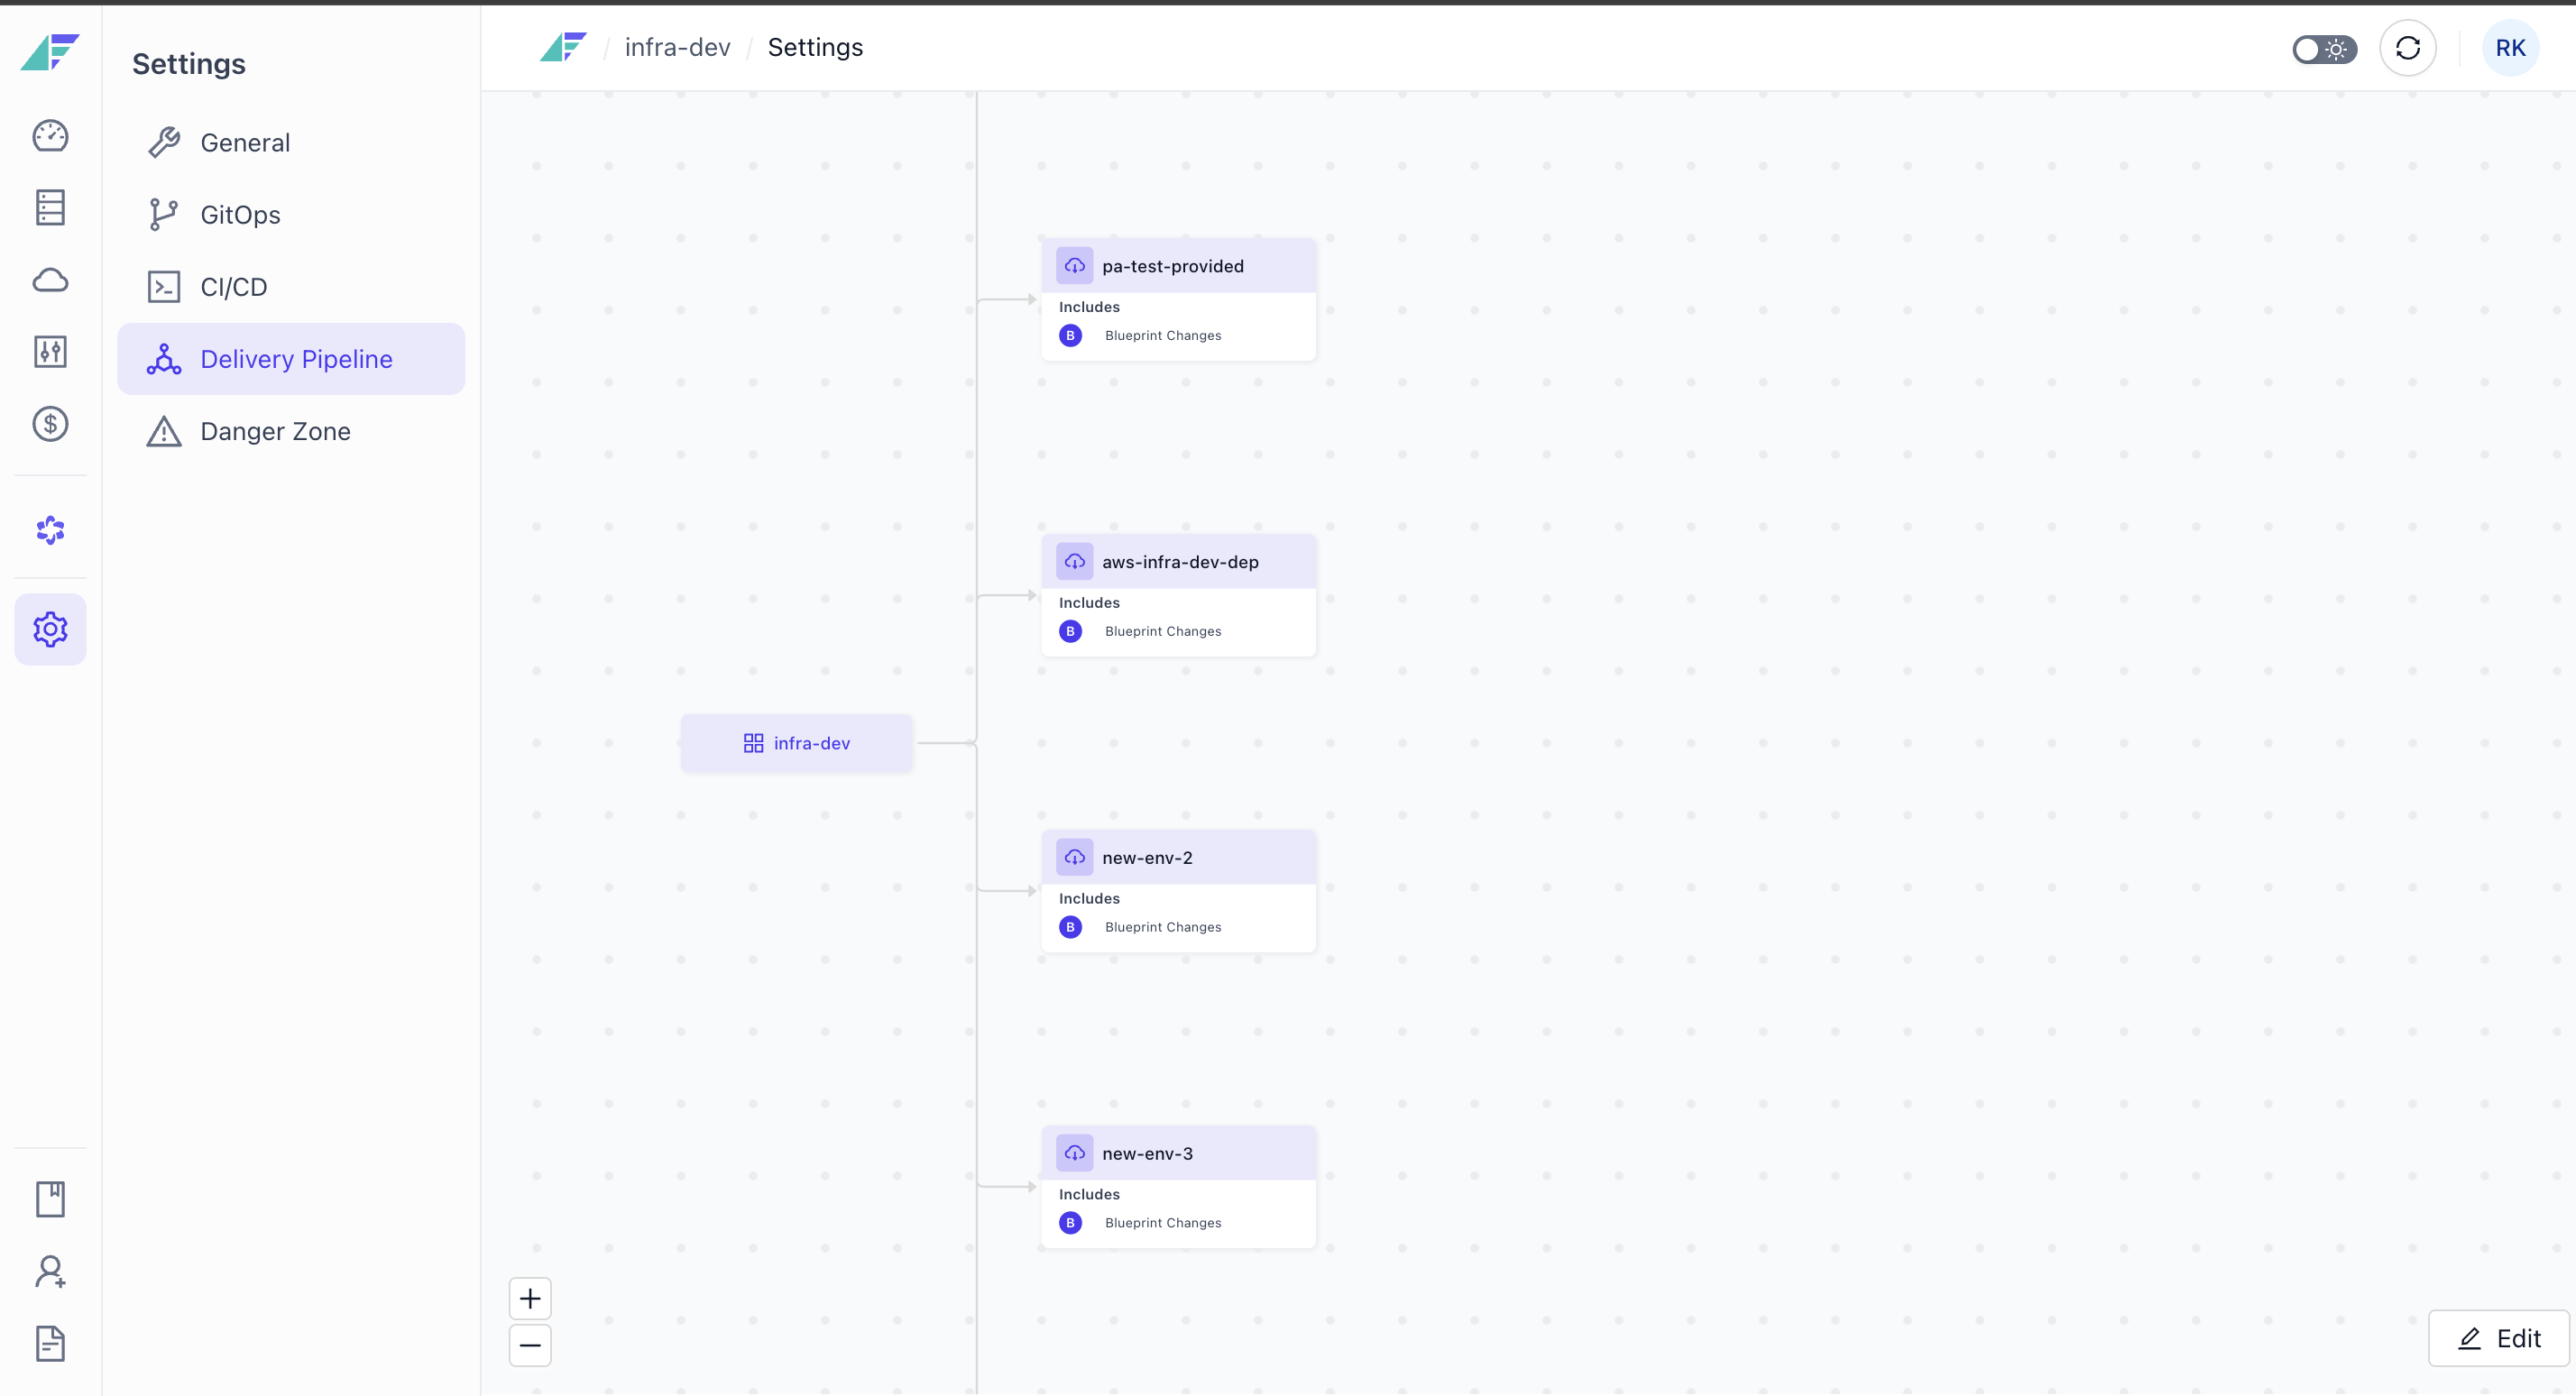
5. Delivery Pipeline
The Delivery Pipeline configures how releases flow from one environment to another, such as promoting from development to staging to production. The visual pipeline graph shows environment relationships and promotion paths.
To configure the promotion pipeline:
- Navigate to Project Settings > Delivery Pipeline
- View the pipeline graph showing environment nodes and their connections
- Click an environment node to open the configuration drawer
- Edit the parent environment to define the promotion path:
- Example: Set "staging" as the parent of "production" to require staging approval before production deployment
- Changes are reflected immediately in the graph
- Review the unsaved changes indicator
- Click Save to persist changes, or Cancel to discard
The backend validates the pipeline for circular dependencies before saving.
Delivery Pipeline Key Behaviors
In-Memory Editing
Changes to the pipeline are applied immediately to the local visualization but are not saved to the backend until you click Save.
Edit Mode Locking
When you enter edit mode, the page is locked to prevent conflicting updates from other users.
Circular Dependency Validation
The backend rejects pipelines with circular promotion paths (e.g., dev → staging → prod → dev). If validation fails, an error message explains the conflict.
6. Danger Zone
The Danger Zone section contains options for deleting the project:
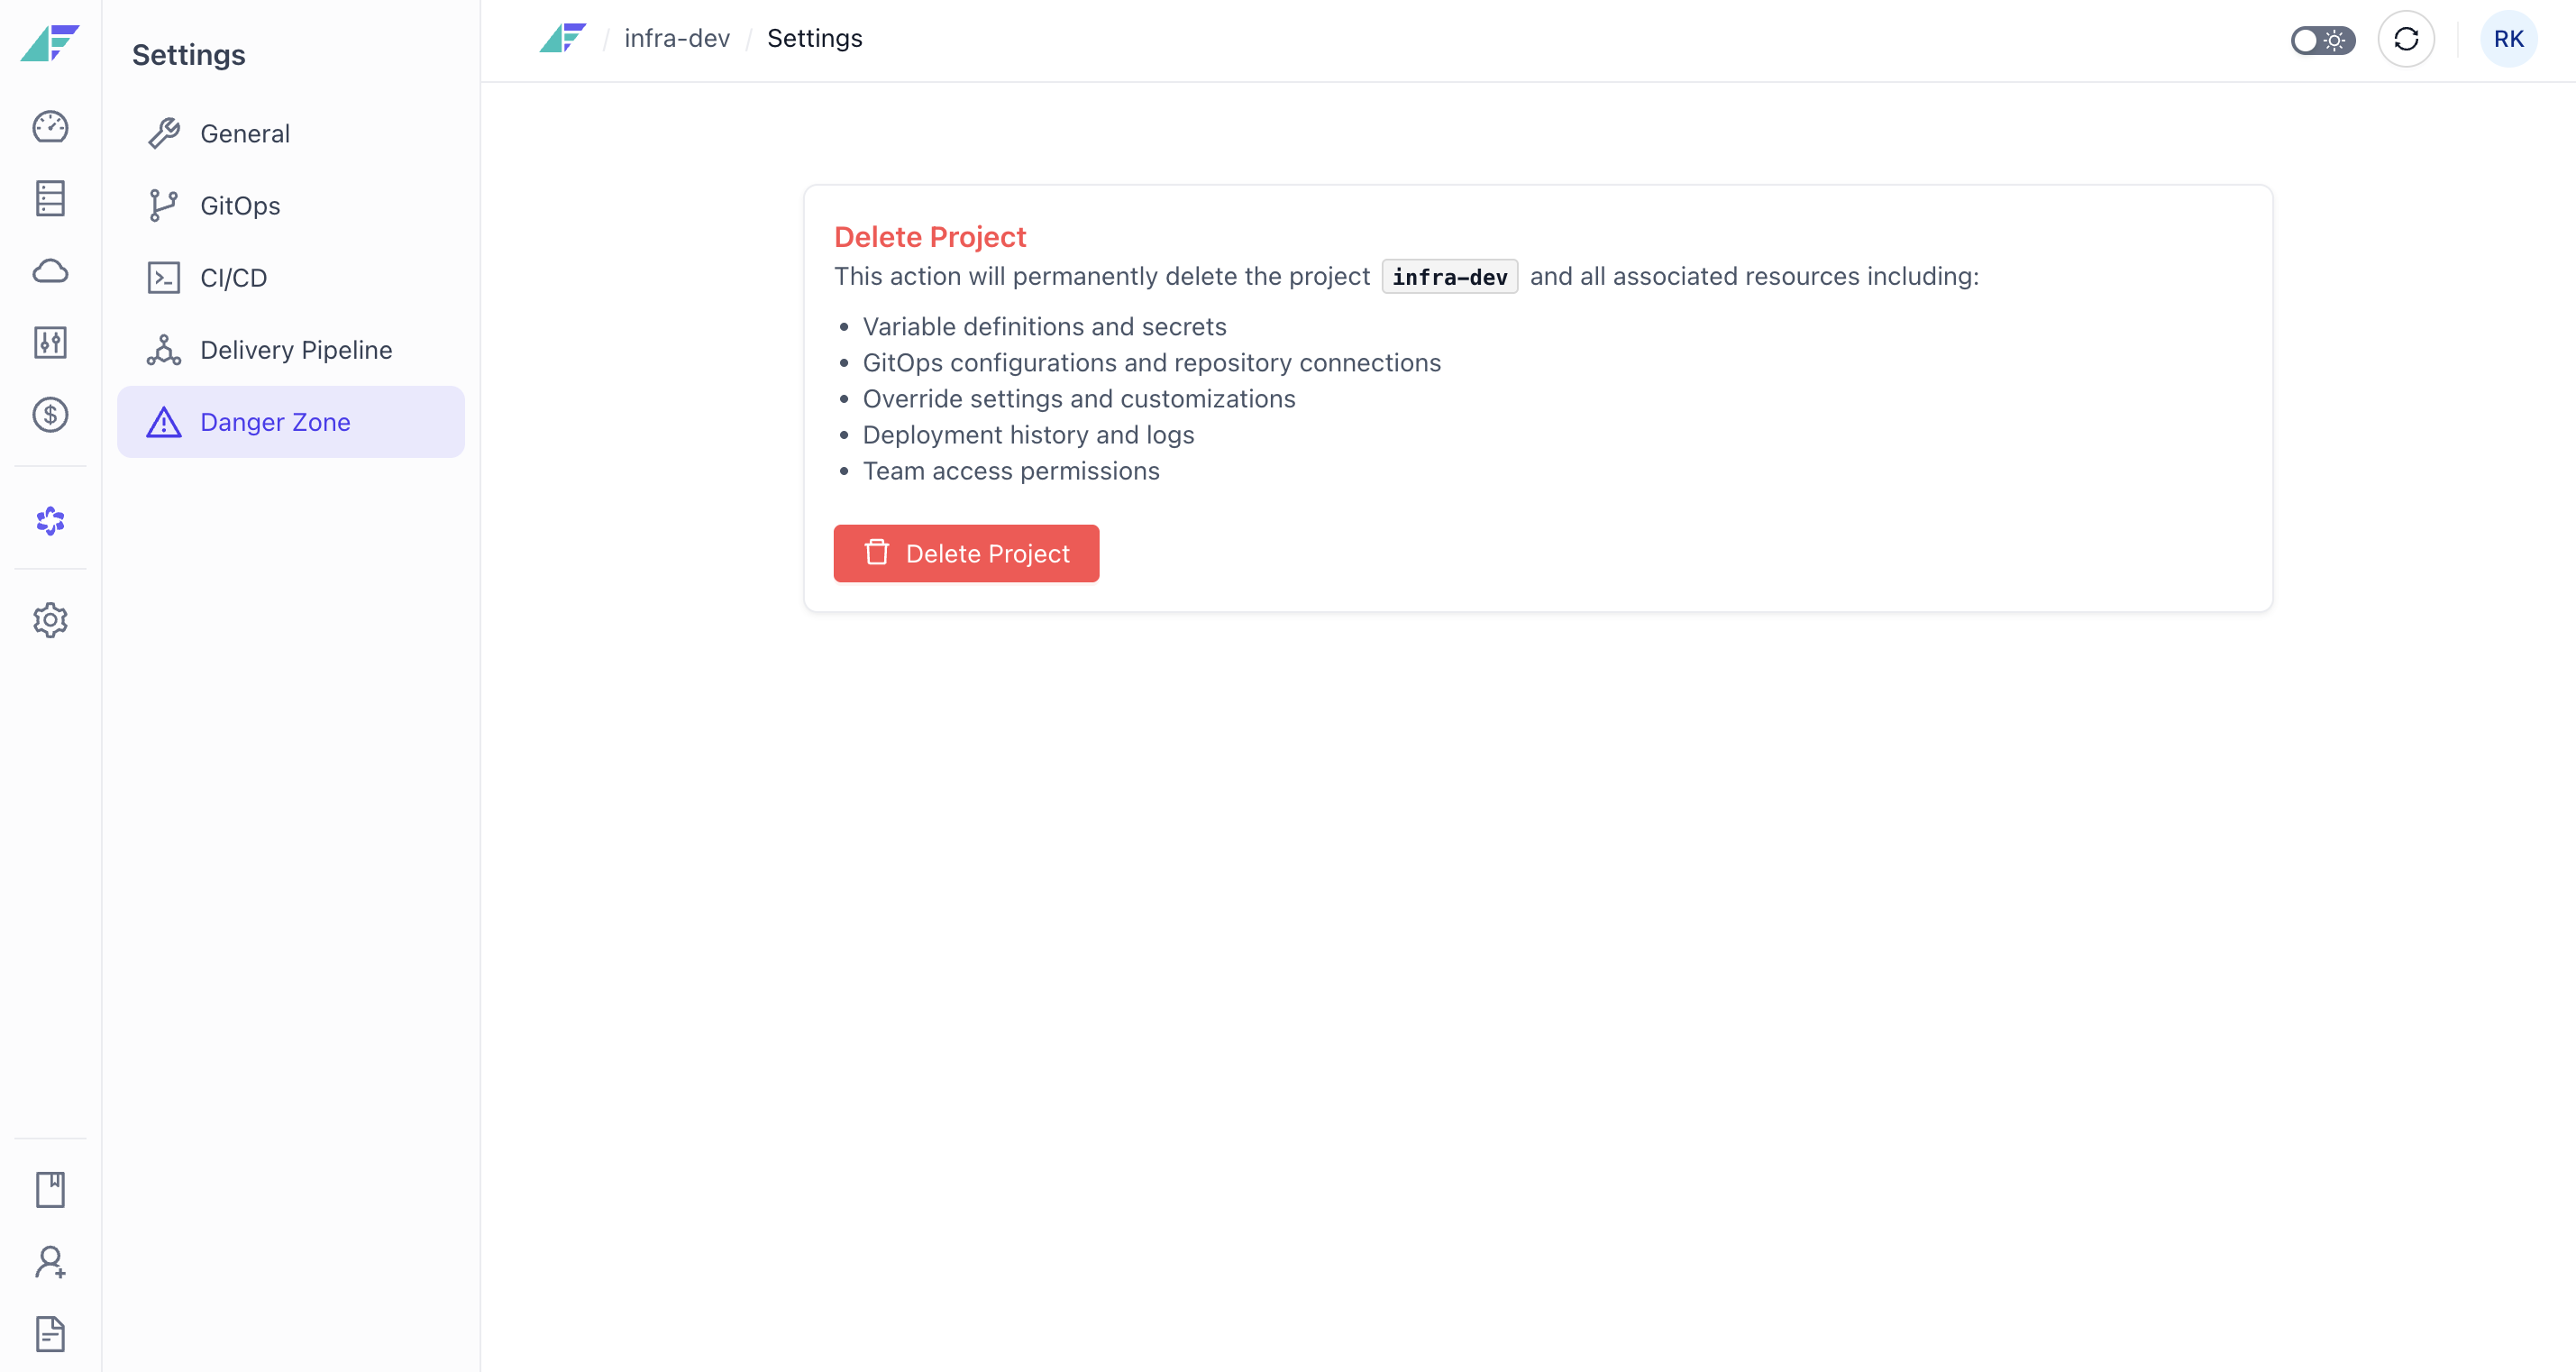
- Click Delete.
- Type Confirm in the pop-up window.
- Click Delete again to finalize the deletion.
Before deleting a project, consider:
- All environments (dev, staging, prod, etc.) are deleted
- All configurations (variables, secrets, overrides) are removed
- Blueprint and resources are permanently deleted
- Release history and logs are lost
Deleting a project is irreversible. All environments, configurations, and resources are permanently removed. Ensure backups exist before deletion.
Updated 9 days ago