Create a Blueprint
We recommend going through the Blueprint concepts documentation to better understand the concept of Blueprint and associated functionality.
How to Create a Blueprint?
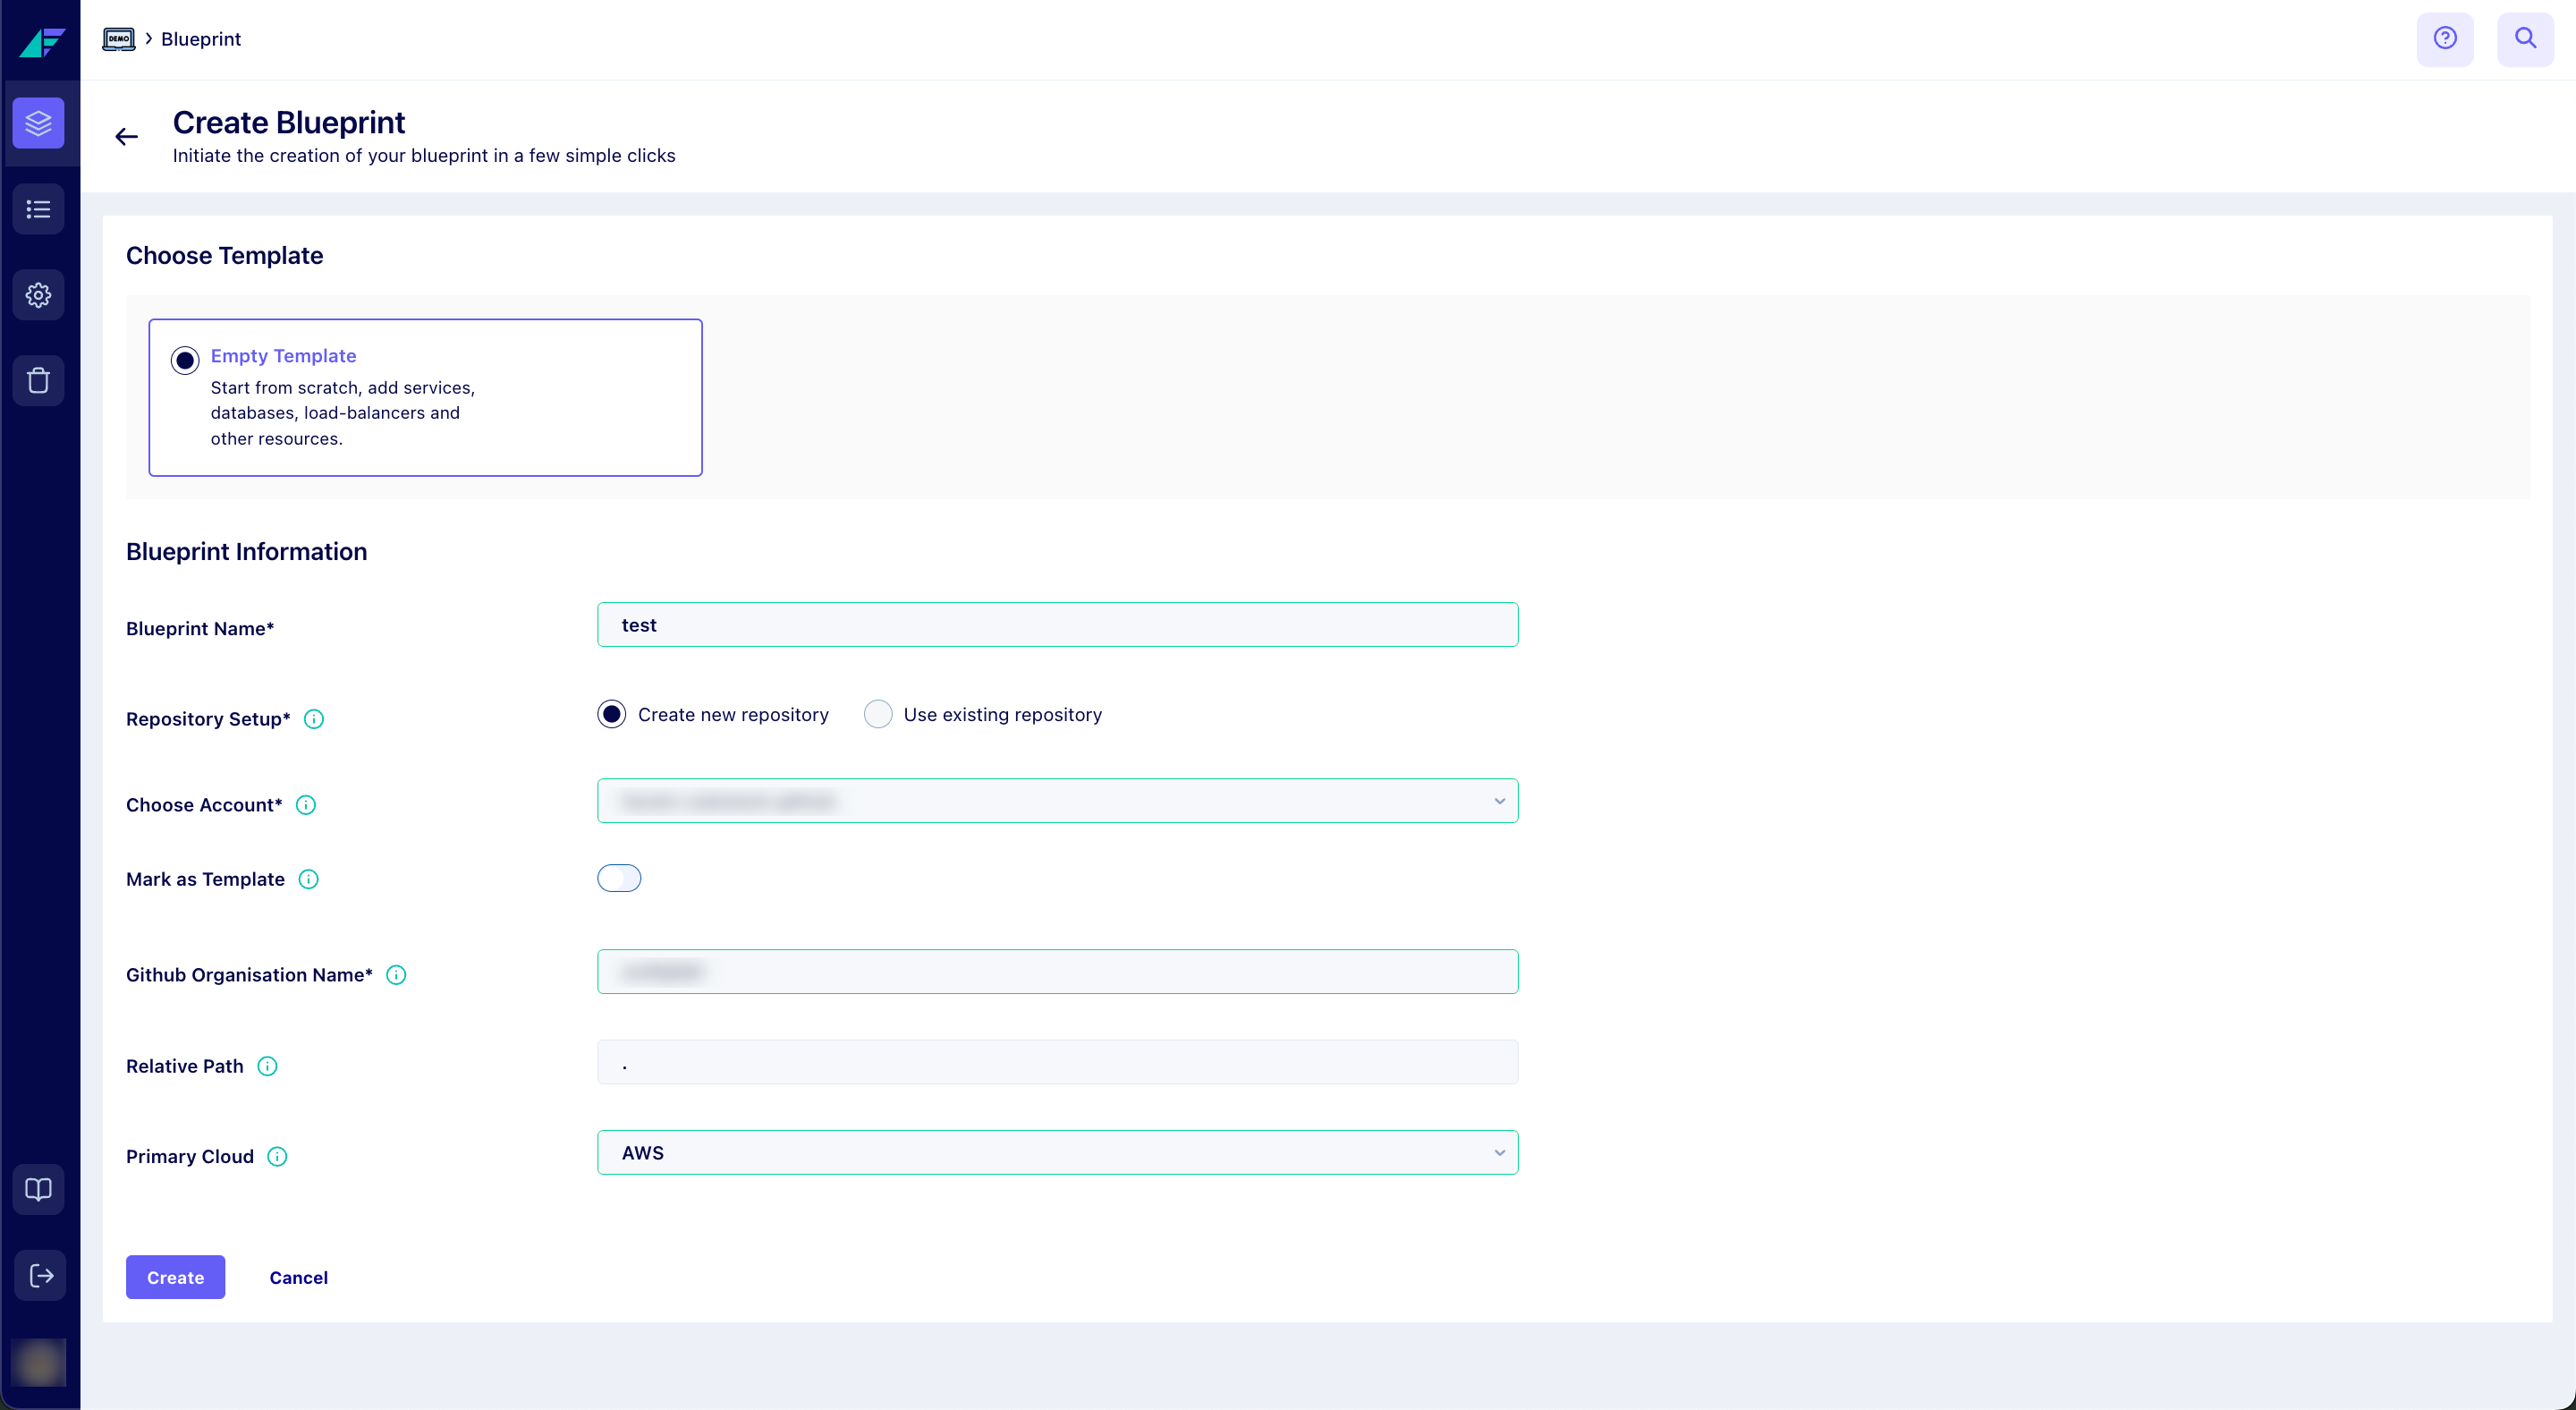
- Open Blueprints, and click New Blueprint.
- You have two options when creating a Blueprint: you can start from scratch by choosing No Template, or you can utilize an existing template.
- Begin by assigning a unique Name to your Blueprint.
- Proceed to the Repository Setup. Choose if you want to Create a new repository or Use an existing repository.
- If you opt to Use an existing repository, you will need to provide the Repository URL(mandatory).
Note: A stack.json file is required in the repository when creating a Blueprint using an existing one.
- If you opt to Use an existing repository, you will need to provide the Repository URL(mandatory).
- Select your VCS Account from the available list. If you need to set up a new account, refer to the Integrate Version Control Systems (VCS) with Facets documentation.
- Decide if you want to Mark this Blueprint as a Template. By doing so, it can be later reused by everyone in the organization.
- If you choose to Mark this Blueprint as a Template enter the Template Description.
- Specify the master Branch Name (for example, "main" for GitHub or "master" for Bitbucket) and Relative Path.
- Select your Primary Cloud provider and begin with the default JSON for resources. If you need to set up a new account, refer to the Integrating Cloud Accounts documentation for more details.
- After completing the above steps, click the Create button to initiate the Blueprint creation process.
Click on the image to expand
You have successfully created your first Blueprint!
How to Create a Blueprint Template?
Marking the Blueprint as a Template ensures it will be accessible and can be used the next time a Blueprint is created. There are two methods to save a Blueprint as a template:
-
For a new Blueprint:
- Enable Mark this Blueprint as a Template and enter the Template Description in the Blueprint creation page.
-
For an existing Blueprint:
- Open Blueprint and select the Blueprint you wish to save as a Template.
- From the Designer tab, click the ellipsis icon in the top right corner and select Save as Template.
- In the pop-up, mention the Template Name and Template Description.
- Finally, click Create to save your Blueprint as a Template.
You have successfully created a Blueprint Template.
FAQ
1. What is a Blueprint Template in the context of projects?
A Template is a pre-constructed Blueprint that contains predefined resources with a predefined structure. This can streamline and standardize the creation of new Blueprints and serves as an efficient starting point for creating new Blueprints.
2. Why should I create a Blueprint Template?
Creating a template saves time by allowing you to reuse configurations. It also promotes consistency across all your related Blueprints.
3. Can I use an existing Blueprint as a template for new projects?
Yes, by marking a Blueprint as a template, you can use it as a starting point while creating new Blueprints.
Updated 4 months ago